Menu Close

Category: DCM

DCM mini tutorial #2 – Transform Element

Nowadays “proceduralism” is a very hot trend. Yet many 3dsMax users don’t realize that 3dsMax has had a wide range of procedural features for decades. One of the not-so-well-known procedural features is Data Channel modifier which was introduced in 2017!.

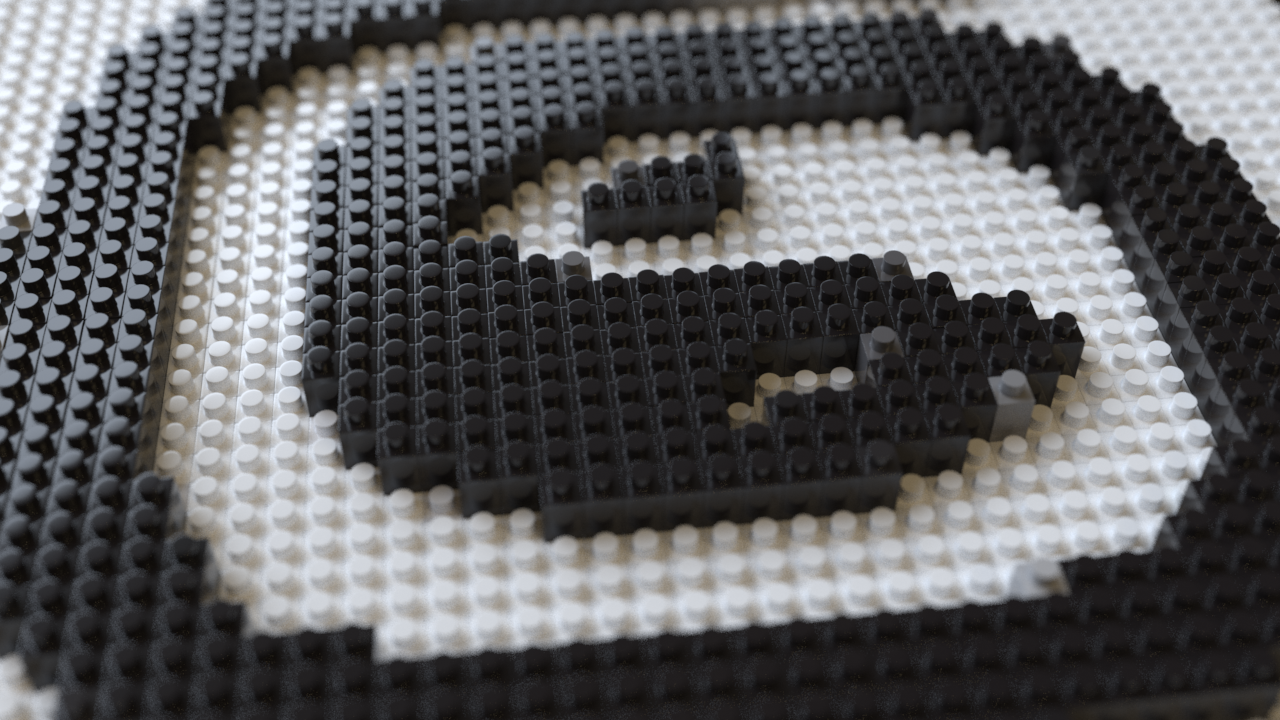
A few days ago. I saw a question about how to make this animation on the tyFlow Facebook group. It was a perfect example of what DCM can easily do with a simple setup. Now with Array modifier, it took 5 min for me to put it together.

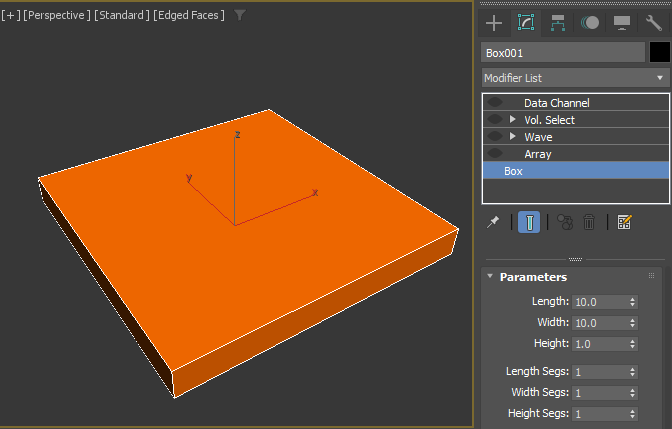
1. Let’s start with a box. I guess I don’t need to explain more. 🙂

2. Then, 15×15 Grid Array.

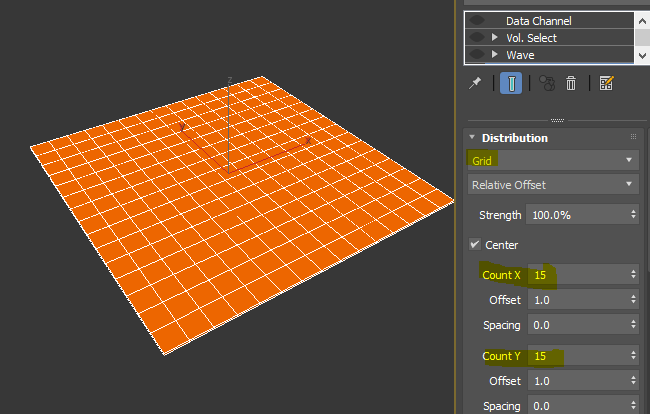
3. Then, Wave modifier. I rotated the gizmo 45 drgree.

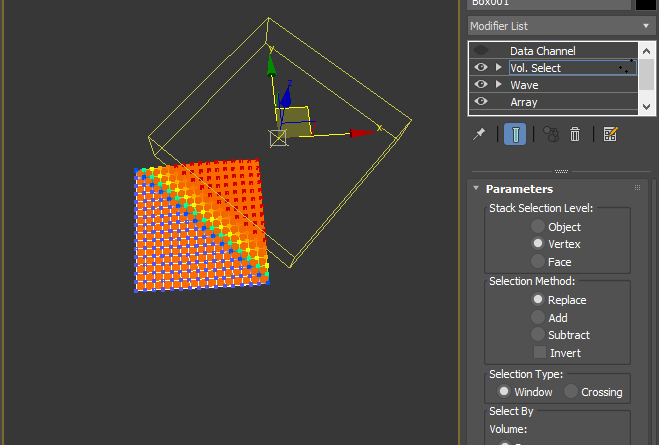
4. Then, I applied Vol.Select. Rotate the Gizmo 45 degree again and moved out of mesh.

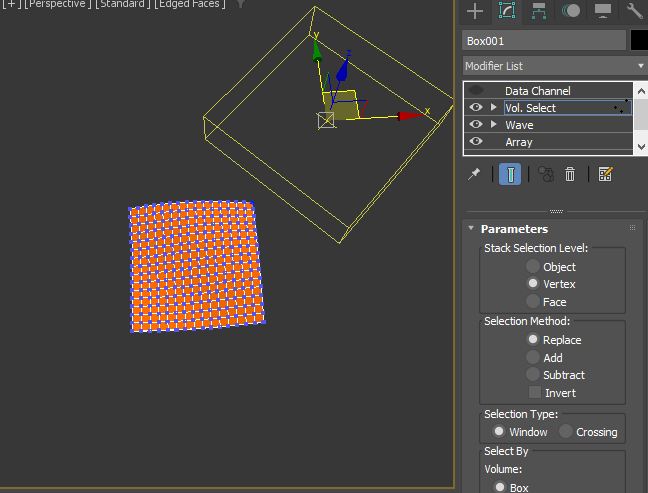
5. Then, animate the gizmo to select all vertex on the verts. This is frame 36.
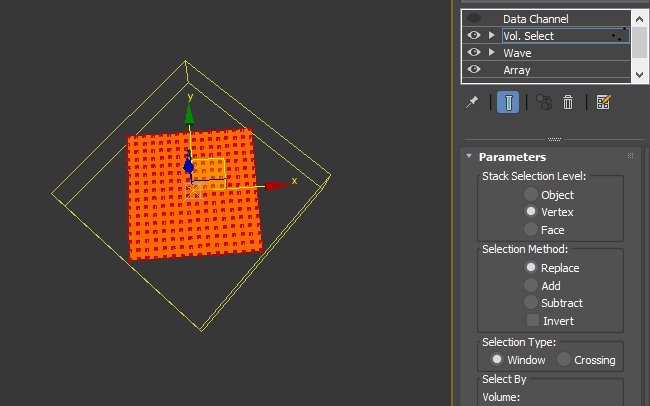
Frame 72.

As you can expect, Ill drive the scale animation of each element with animated soft selection using Data Channel modifier. Apply Data Channel modifier.

6. Apply Data Channel modifier.

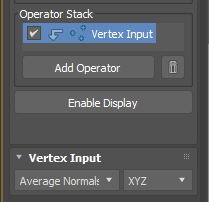
7. Click “Add Operator” button.

8. Add “Transform Elements” and “Vertex Output”

9. Transform Element modifer allow you to transform(move, rotate, scale) each element using a selected channel. For this setup, we will use soft selection channel as a driver. Set “Input Channel” as Soft Selection.

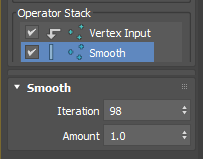
10. Set Transfrom as “Scale %(Uniform)”. Leave everything as is. It should look like the following image.

This setup means, DCM will scale each element from 0 to 100% using soft selection value 0-1. So, if the average of soft selection value of an element is 0. The element will be scale to 0. If the average is 0.5, it will be half size(50&), of the average is 1.0, it will be full size(100&).

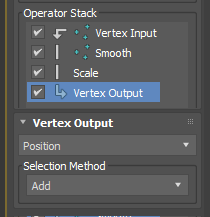
11. Select “Vertex Output” and set Position/Replace. The Transform Element generates transformed vertex position data for each vertex and store in a vertex channel and pass down. We need to replace vertex position channel with the new vector channel to see the animation. “Vertex Output” operator is doing that,

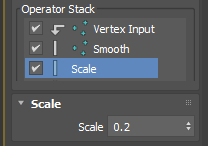
12. If you want to make it more interesting, you can add one more Transform Elements for rotation. Make sure to right click the second Transform Element and change to “Replace” since you are adding a new separate channel. If you choose “Add”, the value will be added to the vector channel coming from the above “Transform Element”.

13. Set “Transform” to “Rotation” and set all “Max” value to 360. So, you can do a complete turn.

That’s it! So easy right?

There are a lot more you can do DCM. If you want to learn more about DCM. I collected some tutorials here.
https://3dsmaxtutorial.com/category/modeling/datachannelmodifier

And.. here is the scene file.

Download


DCM mini tutorial #1 – Smooth Push

I made this DCM(DataChannel Modifier) while ago to help my friend’s shot. I thought that it might be worth as my first DCM mini tutorial. So, here we go!

Let’s see the following picture. This is the famous Stanford Bunny model. Left is the original shape. The right is 3dsMax Push modifier. As you can see, when you push a lot the faces start to overlap. The middle is the result of “Smooth Push” which is a simple DCM setup. As you can see It pushed it, but it pushes more gently(?).

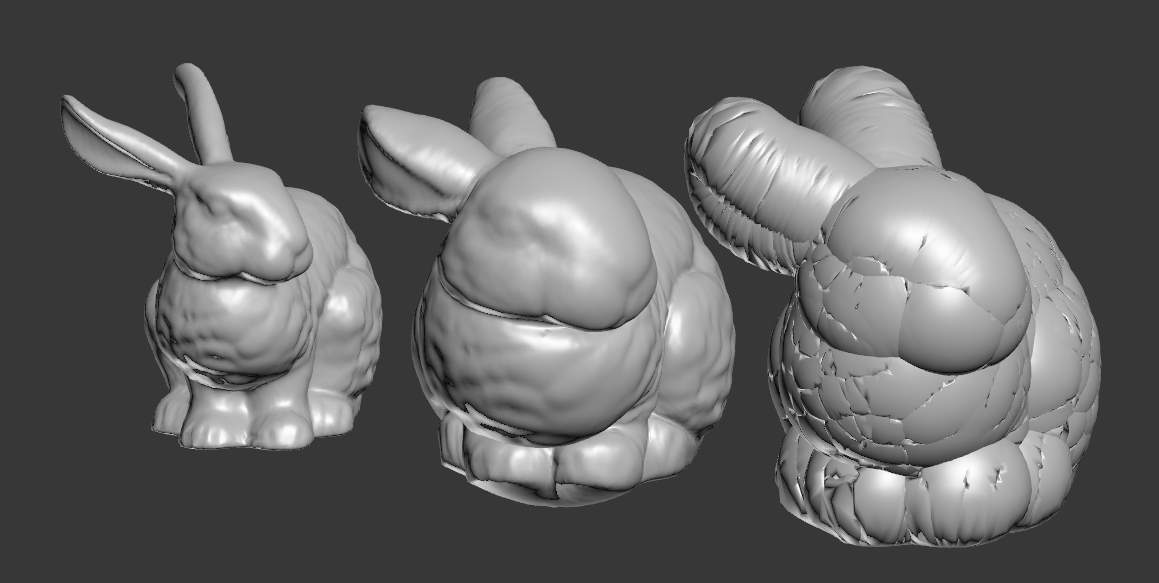
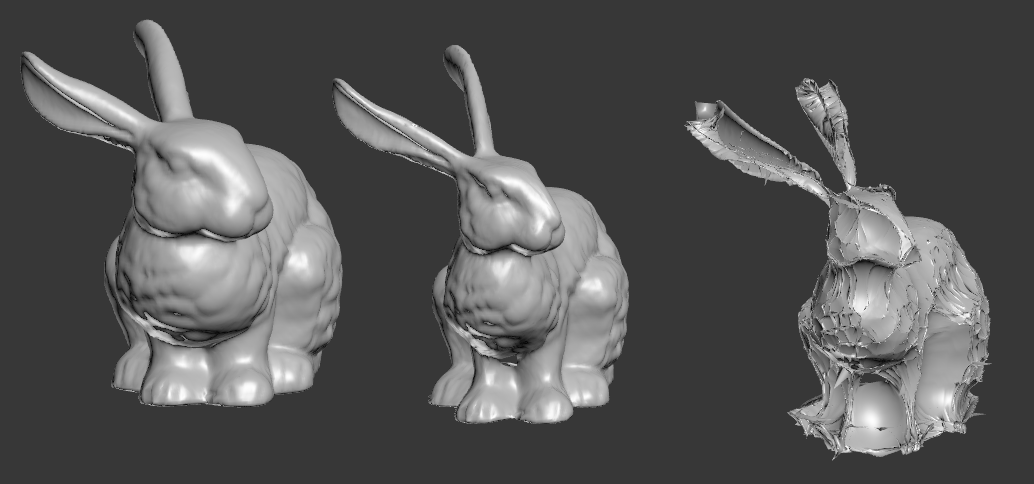
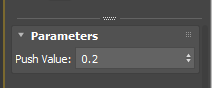
How Push modifier works is really really simple. It moves each verts along the its normal by the given amount. As you can see, Push modifier only has one parameter which is the distance the verts are moved along normals.

Becase the verts move along the normal, verts will meet each other if you have concave shape. To prevent that, I simple smooth or blurred or relaxed the normals and used that. Let’s see how that translate to DCM setup.

First, we need to get vertex normal for each verts.

  1. Click “Add Operator”
  2. Add “Vertex Input”.
  3. Choose “Average Normals”.

As an Input operator, Vertex Input allow you to grab various data from each verts. The 3 dot icon in front of operator name indicates, you are processing vertex data.

Next, Add “Smooth” operator from Process operators. It has 2 values, Iteration and Amount just like Relax modifier. The bigger Iteration and Amount is, the the smoother result you will get. This operator will make more gentle normals by averaging normals with neighboring normals just like blurring an image.

Now we need to have a way to control amount of Push. This is simple. Let’s add “Scale” operator from Process operators. This operator multiplies the given value to float or vector. If the value is 1.0. The size of normal doesn’t change. If the value is 1.0, you ar making normal bigger. If the value is less than 1.0, you are making normal smaller. This is exactly what “Push value” in Push modifier does.

What we have now in the current Data Channel is the offset vector of the each vertex. So, you need to add these vectors to the original vertex position.

  1. Add Vertex Output operator from Output operators.
  2. Choose “Position” as output channel.
  3. Change “Selection Method” from “Replace” to “Add”, which means you will add the current channel data to the existing vertex position data.

Dadah! You have a Smooth Push! Easy, right?

You know what’s also easy? renderStacks! Try it, your rendering life will become 1000% easier!

3dsMax DataChannel Modifier Sample Pack 2

This is my second DataChannel modifier sample pack. If you have not checked my first sample pack. Please check my 3dsMax 2017.1 DataChannel modifier samples post.

I mainly focused on Maxscript operator samples for this pack. I also try some UI element samples from Clovis Gay‘s UI Toolkit.

Some of files are 2018 only becuase the file need the some of bug fixes which are included in 3dsMax 2018. If file name has 2017, it works for 2017/2018. If not, the file only works for 3dsmax 2018.

I also used Clone MCG for the some of the samples to keep everything procedural. The MCG is included in the following zip file. Please install before load the sample files.

This zip file has 10 max files.Download : 3dsMax DataChannel Modifier Sample Pack 2

ChangsooEun_DC2_MXS_animateByFaceID_A.max
ChangsooEun_DC2_MXS_animateByFaceID_B.max
ChangsooEun_DC2_MXS_ElementRandomizer_2017.max
ChangsooEun_DC2_MXS_randomFaceMatID.max
ChangsooEun_DC2_MXS_sine_2017.max
ChangsooEun_DC2_MXS_TextRevealing_2017.max
ChangsooEun_DC2_POS2UV2PO.max
ChangsooEun_DC2_UI_Levelmeter_2017.max
ChangsooEun_DC2_UI_RandomMove_2017.max
ChangsooEun_DC2_VolSelectByElement_2017.max

Have fun!

3dsMax 2017.1 DataChannel modifier samples

3dsMax 2017.1 has been released with DataChannel modifier and BlendedBoxMaping Map.

http://area.autodesk.com/blogs/the-3ds-max-blog/3dsmax_2017_update1

DataChannel modifier is very cool and fun. This is a kind of sub-object modifier or stack in the stack. I’m sharing some sample file I made while I’m beta testing. I hope this files are helpful for you to understand DataChannel modifier.

This zip file has 8 files.Download 3dsMax 2017.1 DataChannel modifier samples

ChangsooEun_DC_GeoMotionBlur
ChangsooEun_DC_GeoQuantize
ChangsooEun_DC_SelectBySlope
ChangsooEun_DC_SelectVertsFacingCamera
ChangsooEun_DC_SelectByWorldPos
ChangsooEun_DC_Sequinss
ChangsooEun_DC_TransformElement_A
ChangsooEun_DC_TransformElement_B

You can see the video here.

I didn’t include DeltaMush file since the model is not mine. The video also doesn’t have ChangsooEun_DC_GeoQuantize in action. But, the image on this page was made with the same setup.

geoquantize_arnold2