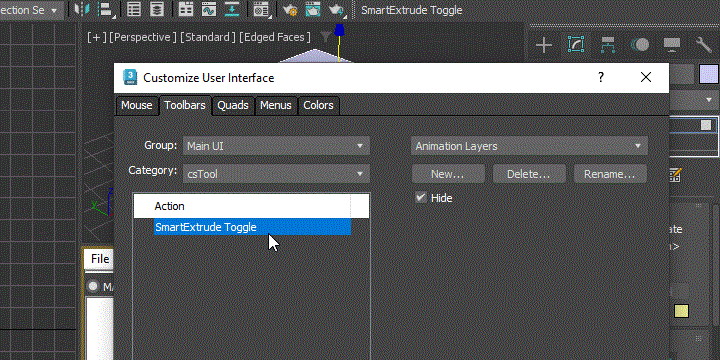
This script allows you to toggle GPU hit testing on or off. You can create a toolbar button that displays the current status of GPU hit testing and enables you to switch it on or off.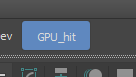
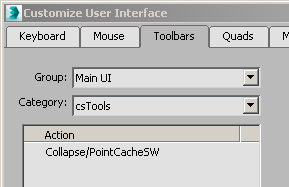
It is under “csTools”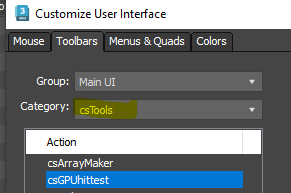
So, what the heck is GPU hit test?
When navigating the 3ds Max viewport, 3ds Max often needs to determine what is underneath the cursor.
For example, in 3ds Max, when you hover over an object, it shows the object’s name under the cursor. When zooming or panning, 3ds Max must calculate the cursor’s 3D position. Similarly, when selecting an object or sub-object, 3ds Max needs to determine what is underneath the cursor.
This process is called hit testing. 3dsMax cast a ray from the cursor point and detect that the ray hits. So, as you can expect, the more object and polygon you have, the more time. If you have ever experienced a hiccup for slight delay when you start zoom, pan or select object. That could be caused by the hit test time.
Around 3ds Max 2014, when the development team was focused on improving hit testing performance, they created a GPU-based version of hit testing. However, this approach had some issues, and since 3ds Max still had a software driver mode that relied on CPU hit testing, the team decided to improve the CPU version instead. Eventually, they achieved similar performance with the CPU, and the GPU version was gradually forgotten.
However, the code for the GPU version was still present, and it could be enabled using Maxscript.
nitrousgraphicsmanager.HardwareHitTestEnabled=true
But, help clearly warns you. 🙂
Now, in 3ds Max 2025.2, there is a bug in CPU hit testing, and enabling the GPU version can be used as a workaround. Interestingly, after a decade of GPU advancements, it also appears to deliver better results.
This is a comment from Ash JJ VI on Facebook Stack group.
I’ve talked to some of my colleagues and most of them have massive viewport performance gains with this enabled. On average they have high core count CPUs (but lower Ghz ~= 3Ghz) but quite beefy Nvidia cards. But indeed it comes with some drawbacks, so far I (only) found that:
You can’t select the PhysicalCamera object unless it’s targeted (then you can select the target line, but even that is wonky and works only with region selection) or also works if you select with a big rectangle around it so you select the (invisible) cone as well, no problem with the other camera objects.ForestPack, RailClone, if disabled or not generating anything can only be selected with region selection.Most of the Forces and Deflectors can only be selected with region selection.I have no problems with splines, lights, meshes, or selecting any of the subobjects in both low or high poly objects, in a mix of scenes.I found so far that, I have far better accuracy when selecting objects in my scene. No more selecting objects behind the view for instance, some objects were hardly selectable in some cases, I don’t have that anymore. In some scenes (didn’t have to be big or complex even), there was always one second delay before panning or orbitting, this has completely vanished as well as a higher FPS in viewport 2-3x sometimes, and a lot snappier navigation.
With the script, you could easily switch between CPU/GPU hit test as you need.