3ds Max 2027 is out, and it finally adds some really important improvements to the MaxScript commands getMaxFileObjects and mergeMaxFile, including the ability to query and merge layer information and more. As a little test project for the new features, I made a Python script called csMerge. It’s also my first full Python script.
Download here. Download
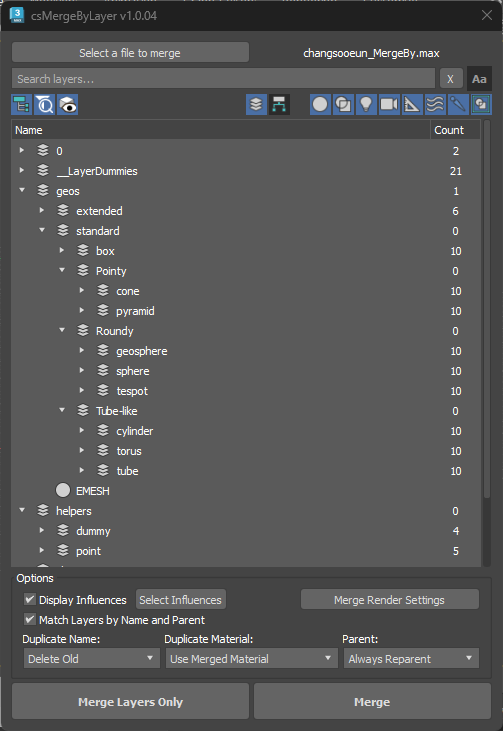
This is the UI. As you can see, it supports both layer-based and hierarchy-based merging.
Manual
csMerge is a 3ds Max tool for merging selected layers and objects from an external .max file into your current scene. You can also merge layers only — without bringing in any objects. All standard merge prompt options (duplicate names, materials, and reparenting) are exposed directly in the UI.
Installation
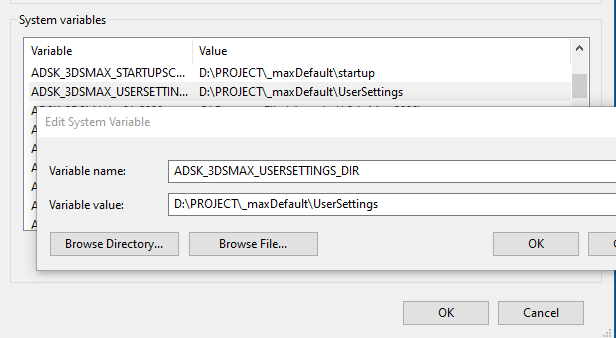
Unzip the package into any Application Plugins folder. The default location is:

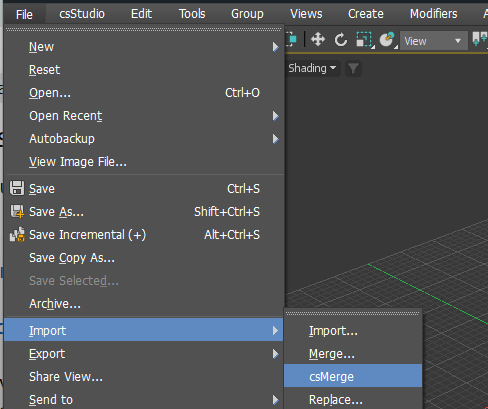
Restart 3ds Max — the tool will be available under File > Import > csMerge.
File Browse Button
Select a file to merge – Opens a file browser. Pick a .max file to load. The tree populates with its layers and objects. You can change the file at any time by clicking again.
Search Bar
Search box – Type to filter the tree by name. Updates automatically after a short pause. Press Enter to search immediately.
X (Clear) – Clears the search and restores the full tree.
Aa (Case Sensitive) – Off by default. Turn on to make search case-sensitive — spine will no longer match Spine.
Toolbar — Toggle Buttons
Show Tree (tree icon) – On by default. Shows layers and objects in their parent–child nesting. Turn off for a flat alphabetical list.
Show Searched Only (filter icon) – On by default. While searching, hides everything that doesn’t match — the tree collapses to matches only. Turn off to keep the full tree visible; instead of hiding non-matches, the tool selects the matching items.
Show Objects (eye icon) – Off by default. Shows individual objects nested inside each layer. Turn off to see layers only. Only works in Layer mode — disabled in Hierarchy mode.
Toolbar — Mode Buttons
These two work as a radio pair: exactly one is always active.
L (Layer Mode) – Default. The tree is organized by layers. Objects appear under their parent layer.
H (Hierarchy Mode) – The tree is organized by scene parent–child object relationships, regardless of layer. The Merge Layers Only button and Show Objects toggle are disabled in this mode.
Toolbar — Superclass Filter Buttons
Eight buttons, all on by default. Each hides a specific object type from the tree. Click to toggle off; click again to restore. These are not saved between sessions — they always reset to all-on.
- Alt+click – a button to solo it — all other buttons turn off, leaving only that type visible.
- Alt+click – the same button again to restore the state from before the solo.
- Right-click – any button for a context menu with: Select All, Select None, Invert Selection.
Tree — Right-Click Context Menu
Right-click anywhere in the tree for a context menu.
- Select All — selects every visible item in the tree
- Select Children — adds all children of the selected item to the selection
- Select None — clears the selection
- Invert Selection — deselects selected items and selects everything else
- Expand All — expands every node in the tree
- Expand Children — expands all children of the selected item
- Expand Selected — expands the selected items
- Collapse All — collapses every node in the tree
- Collapse Selected — collapses the selected items
Options Section
Display Influences (checkbox) – Off by default. When on, selecting an object (or a layer in Layer mode) highlights its influence objects in amber in the tree. The tree also expands to show them. Checking a layer highlights the combined influences of all objects in that layer.
Select Influences (button) – Adds the currently amber-highlighted influence objects to your selection. Does not deselect anything you already have. Only useful when Display Influences is on and Influences are shown.
Merge Render Settings (button) – Merges the render settings from the loaded file into the current scene. Sits on the right side of the same row. Does not require any selection — it always acts on the currently loaded file.
Match Layers by Name and Parent (checkbox)- Off by default. Controls how incoming layers are matched to existing scene layers.
- Off: matched by name only.
- On: matched by both name and parent layer. Use this when your scene has multiple layers with the same name under different parents.
Duplicate Name – What to do when a merging object has the same name as an object already in the scene.
- Prompt — 3ds Max asks you each time
- Delete Old — removes the existing object, brings in the new one
- Merge — keeps both
- Skip — skips the incoming object, keeps the existing one
- Auto Rename — renames the incoming object automatically
- Prompt — ask each time
- Use Merged Material — replace the scene material with the incoming one
- Use Scene Material — keep the existing scene material, ignore the incoming one
- Auto Rename-Merged Material — rename the incoming material, keep both
- Prompt — ask each time
- Always Reparent — reconnect the parent relationship using the matching scene object
- Never Reparent — bring the object in with no parent attached
Merge Buttons
Merge Layers Only Merges only the selected layers — no objects. Use this to copy a layer structure into the scene first. Only available in Layer mode.
Merge Merges the selected layers and/or objects.
- Selecting a whole layer ? merges the layer and everything in it
- Selecting individual objects ? merges those objects (creates their layer if it doesn’t exist)
- Selecting some objects within a layer ? merges only those objects, not the whole layer
- Mix of whole layers and partial layers ? handled per the above rules
Maxscript Update
getMaxFileObjects
2 new keyward arguments are added to layer information and renderSettings of an external file.
For example:
nodeData = getMaxFileObjects @"$scenes\test.max" layers:&layers renderSettings:&renderSettings
#("GeoSphere010", 6, 313L, 378L, "geosphere", false, false, false, #(), #GeometryClass, 1366081, (color 65 216 20))
The returned nodeData is an array of
Node name
Node hiearchy level
Node handle
Node Parent handle
Layer name
Whether the node is a Bone Node
Whether the node is a Group Head
Whether the node is a Group Member
Node’s influenced nodes as an array
Node’s category (superclass)
Node color as RGB DWORD integer
WireColor
renderSettings:<&var>
If specified, a node handle corresponding to the ‘Render Settings’ in the merge dialog is saved to var. This value can be passed to mergemaxfile in the list of handles to merge to merge the render settings.
mergemaxfile
Added way to selectively load layers (with or without nodes).
For example:
@"$scenes\test.max" #("Sphere002") layers:#("Layer002")
mergemaxfile @"$scenes\test.max" #() layers:#("Layer002") mergeNodesByLayer:true
If mergeNodesByLayer is false or not specified, just the specified layers(and their parent layers, recursively) are loaded.
If mergeNodesByLayer is true, the specified layers (and their parent layers, recursively) are loaded, and the nodes in the specified layers are loaded


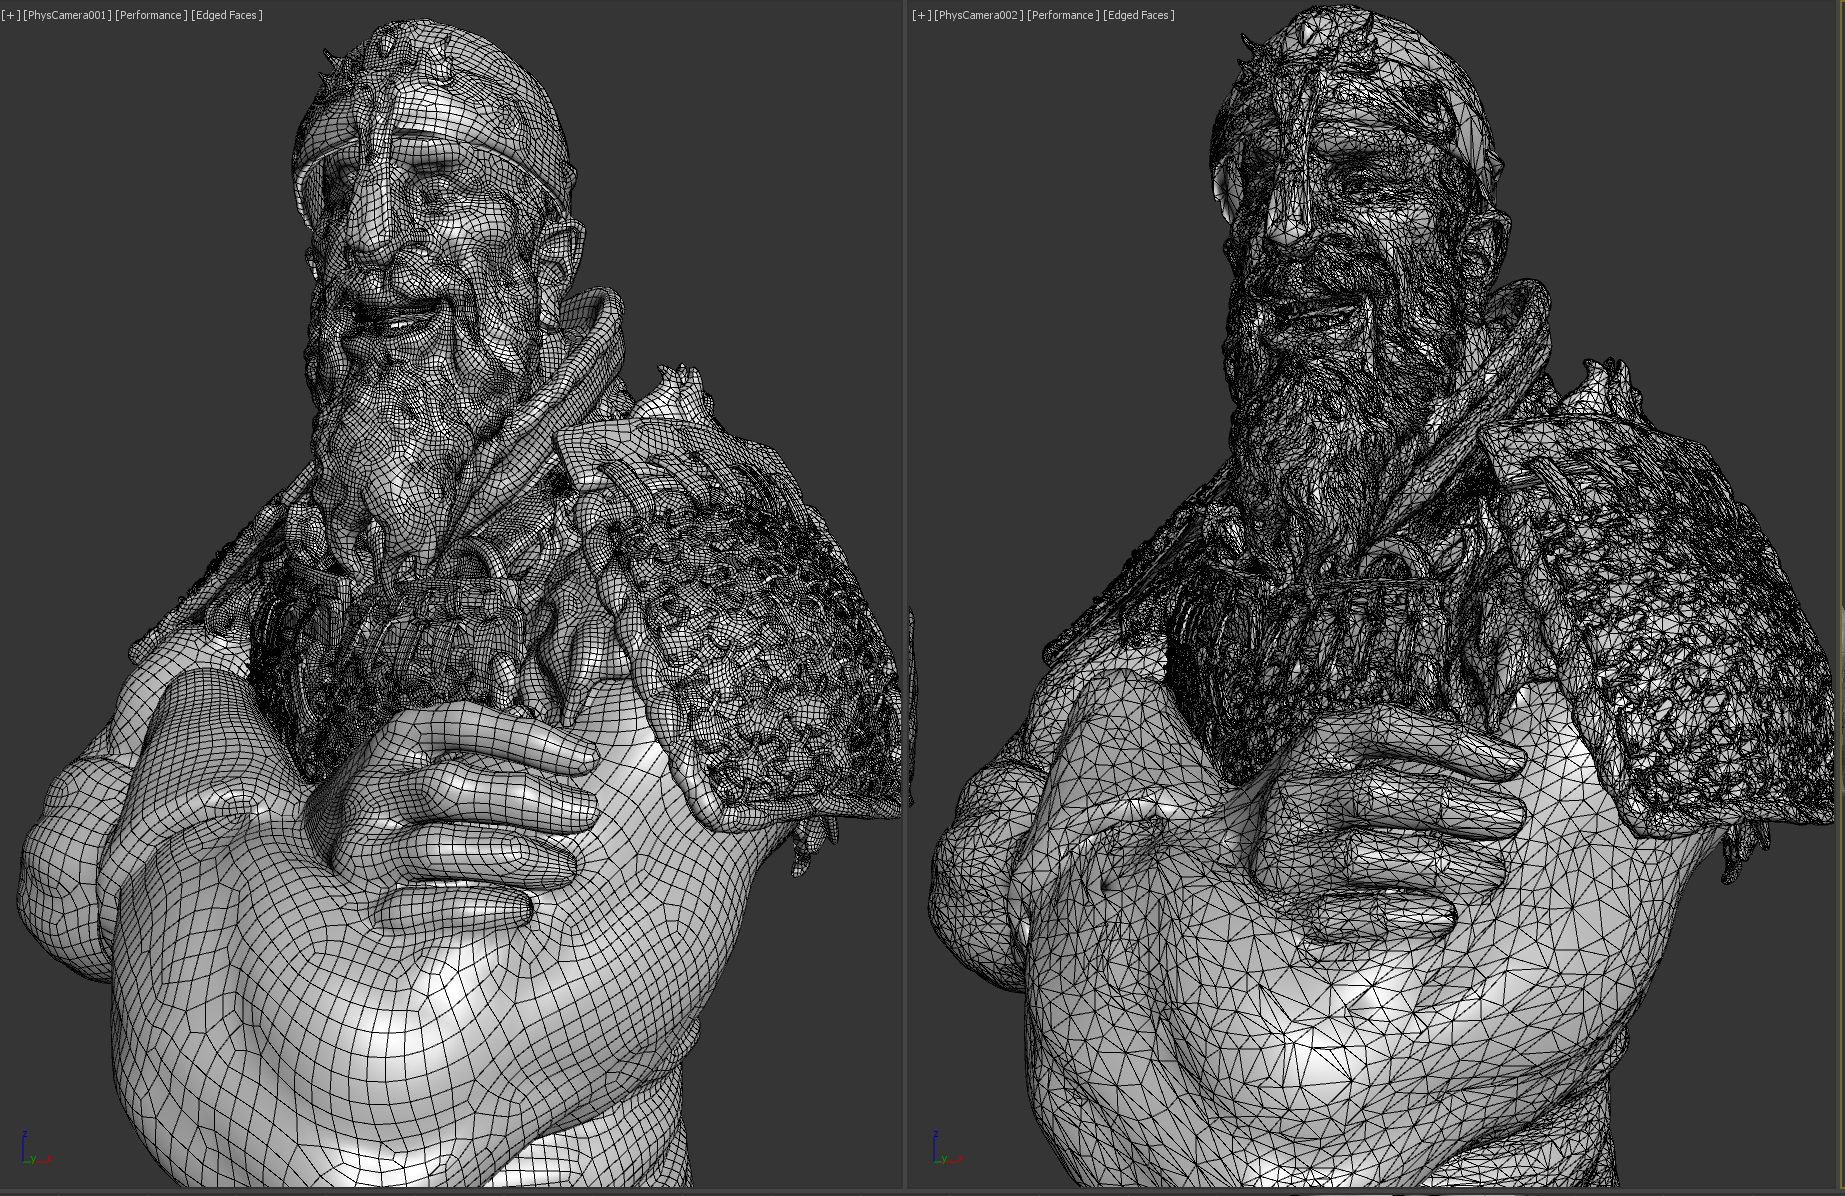
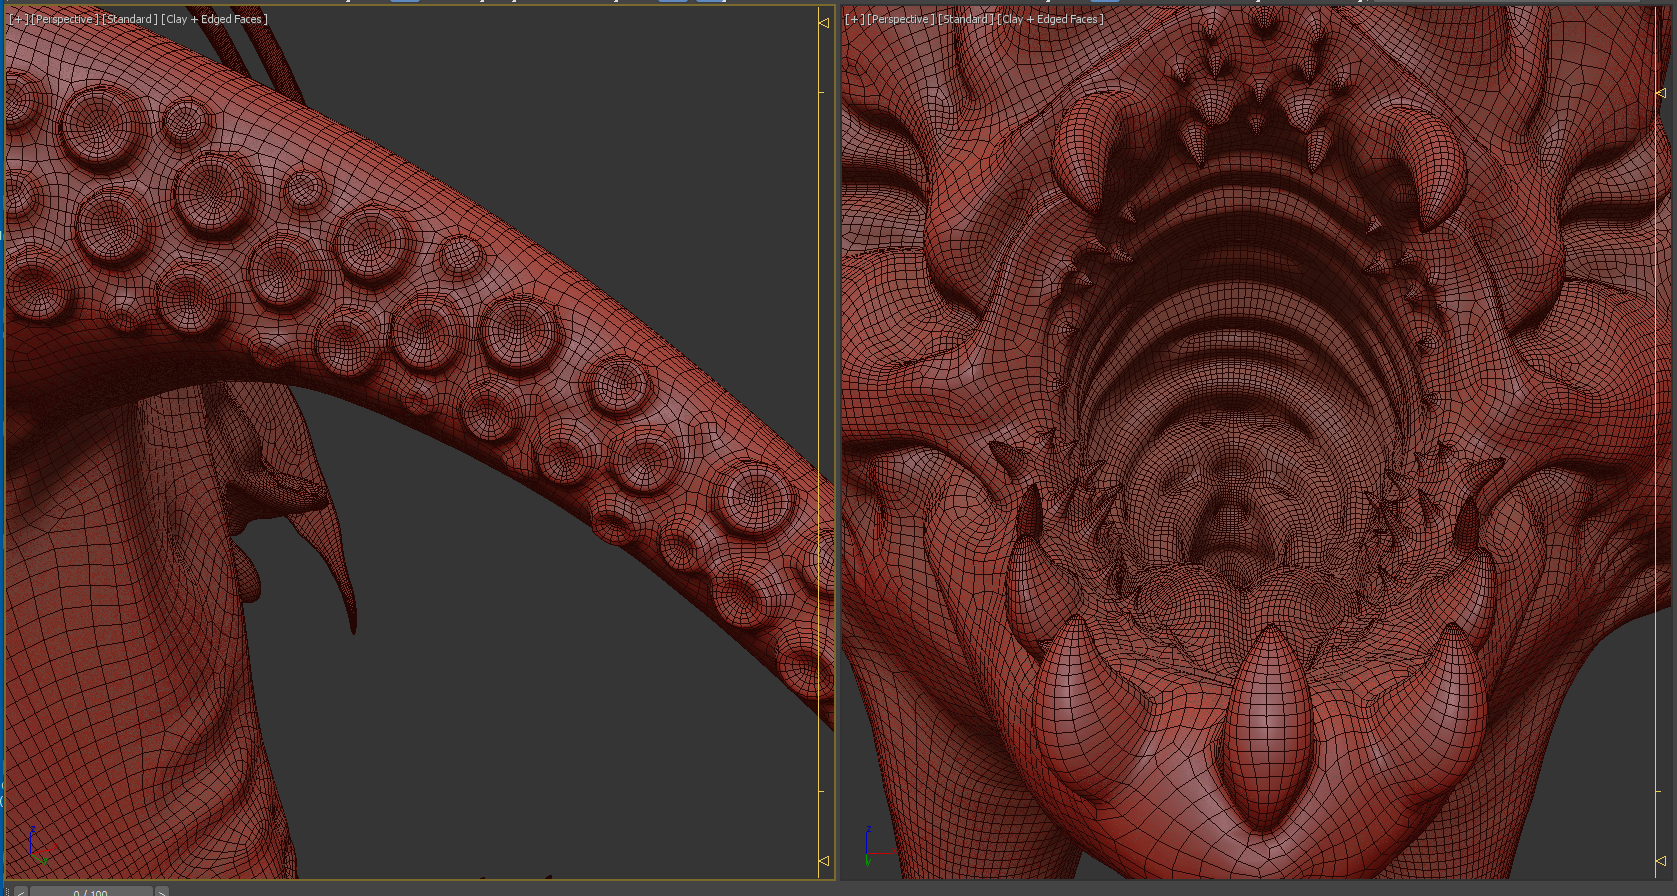
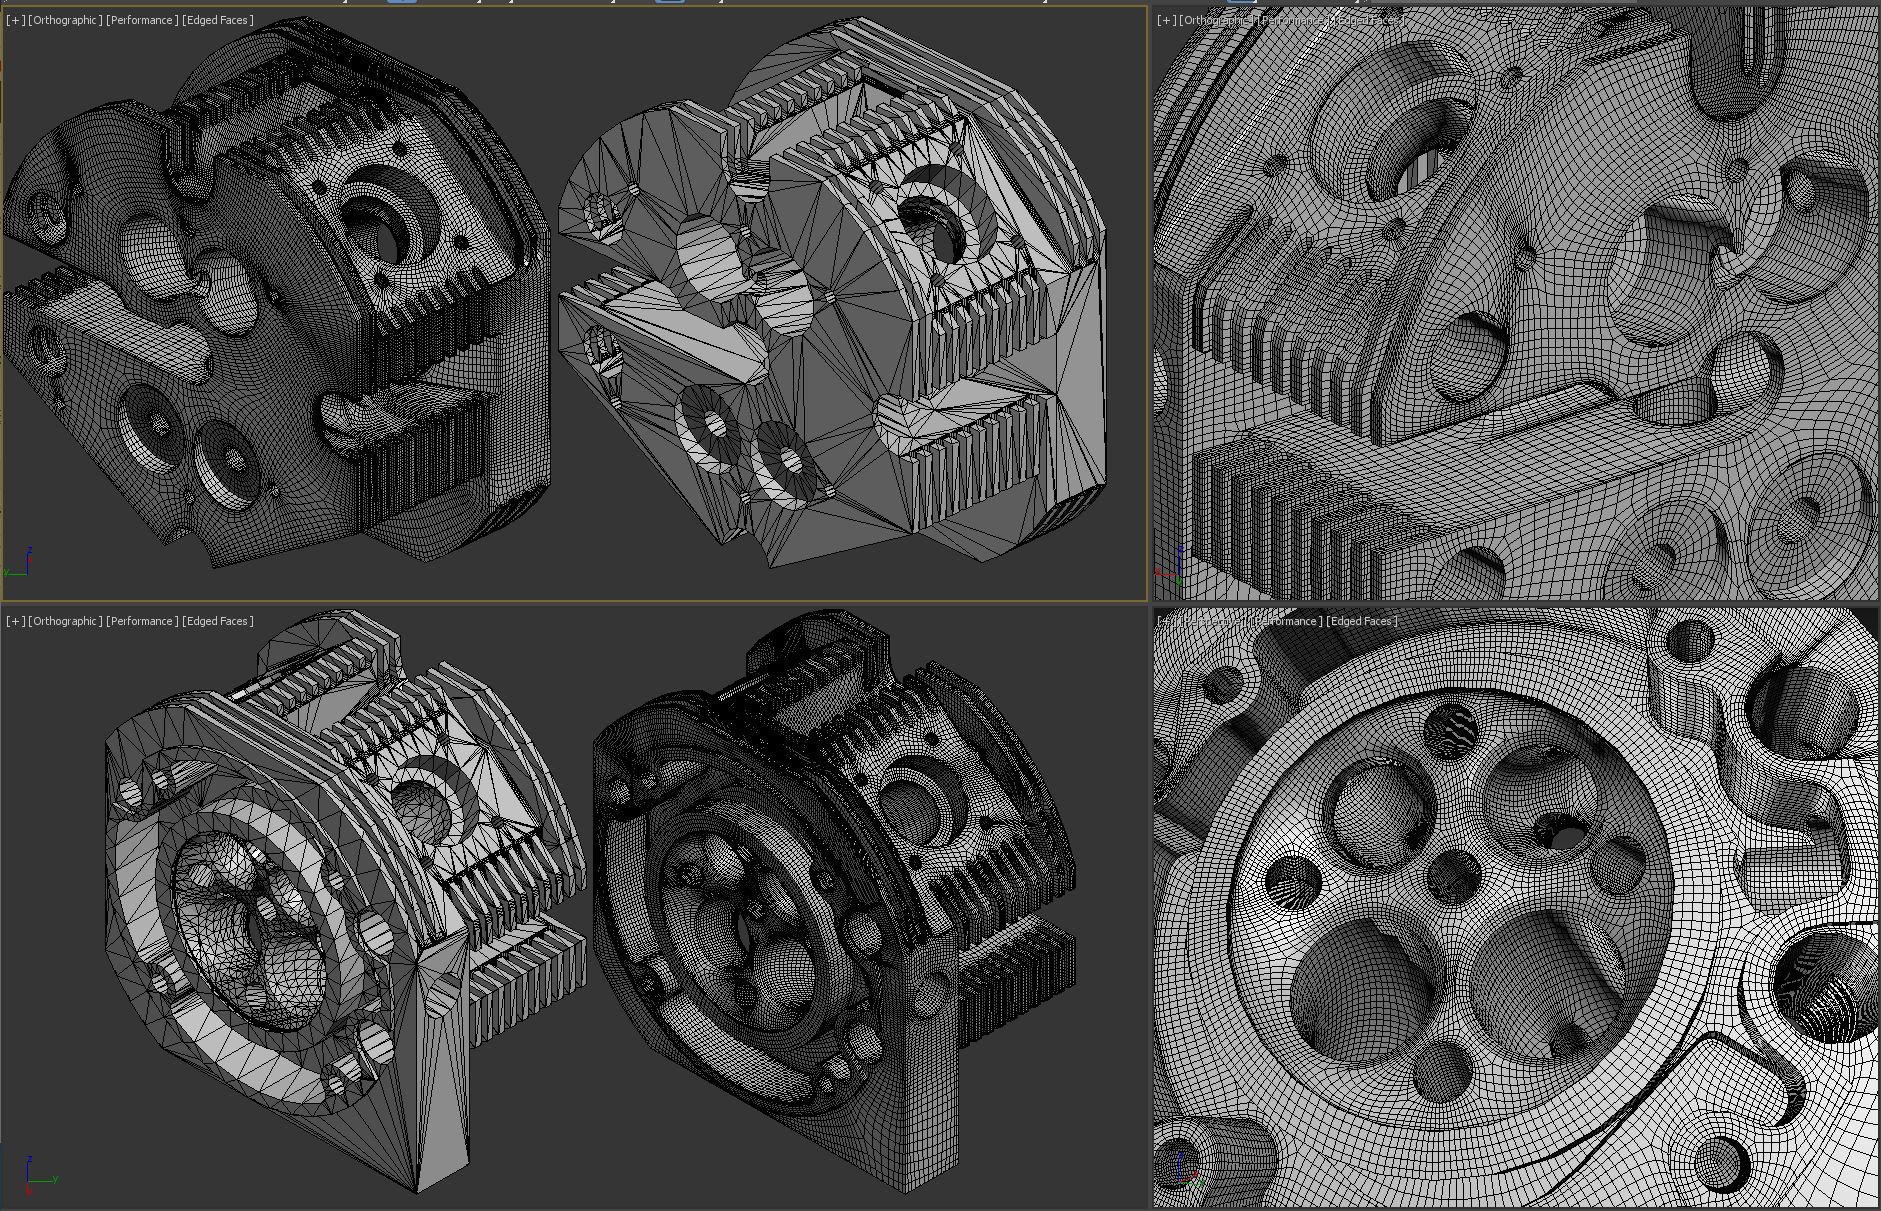
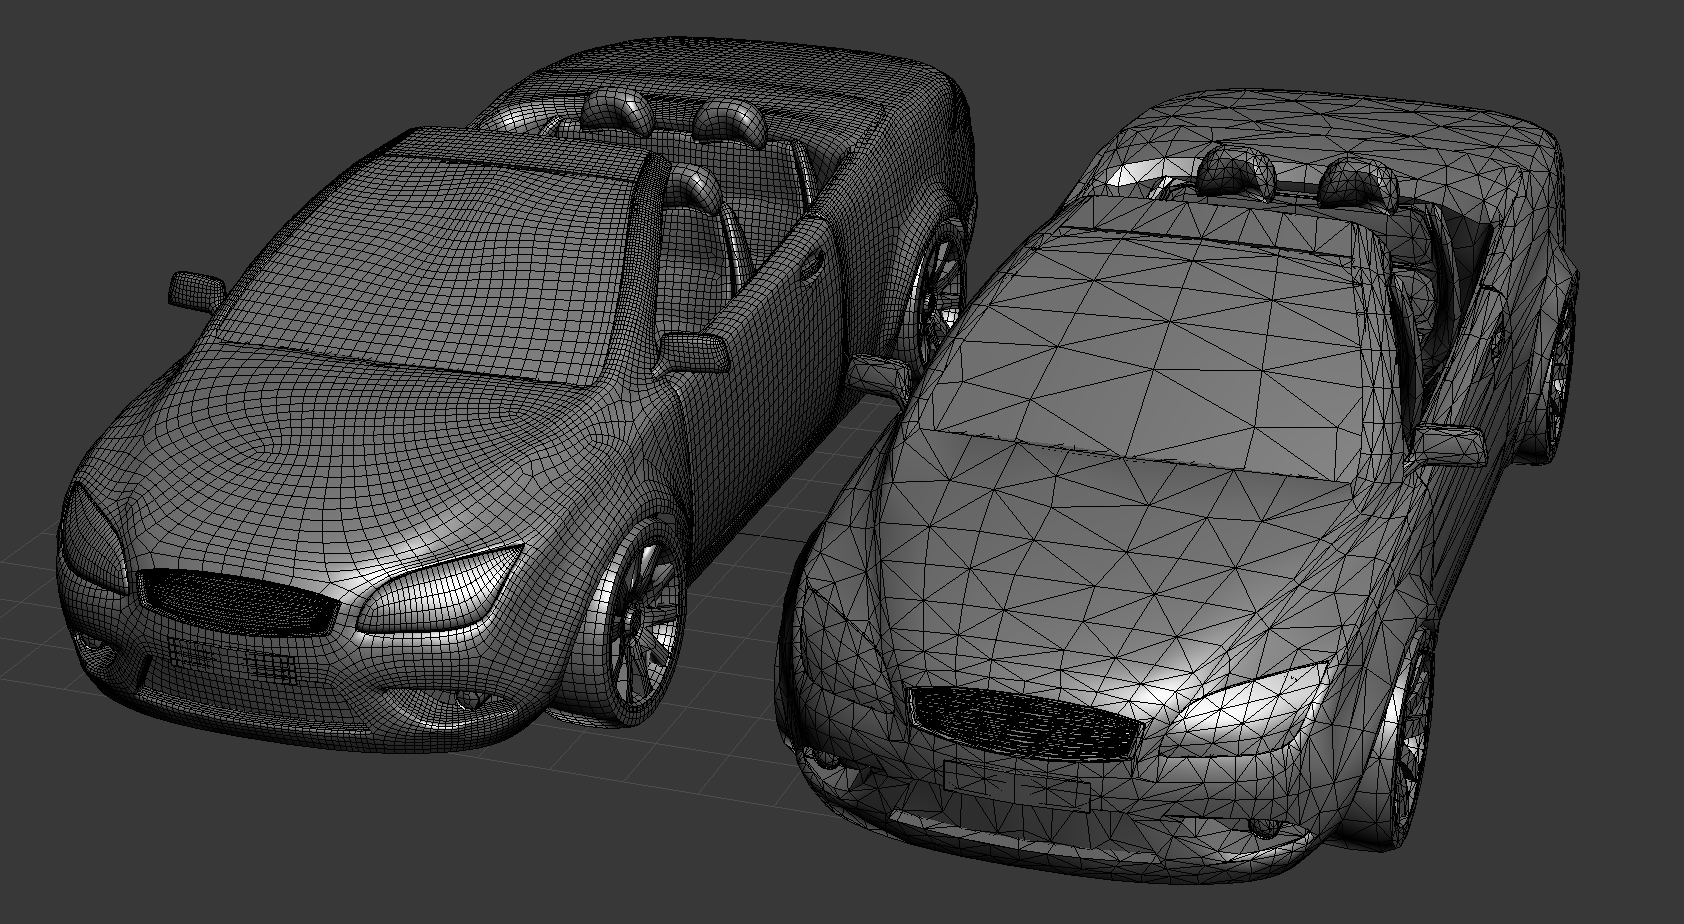
 Preprocess/Remesh
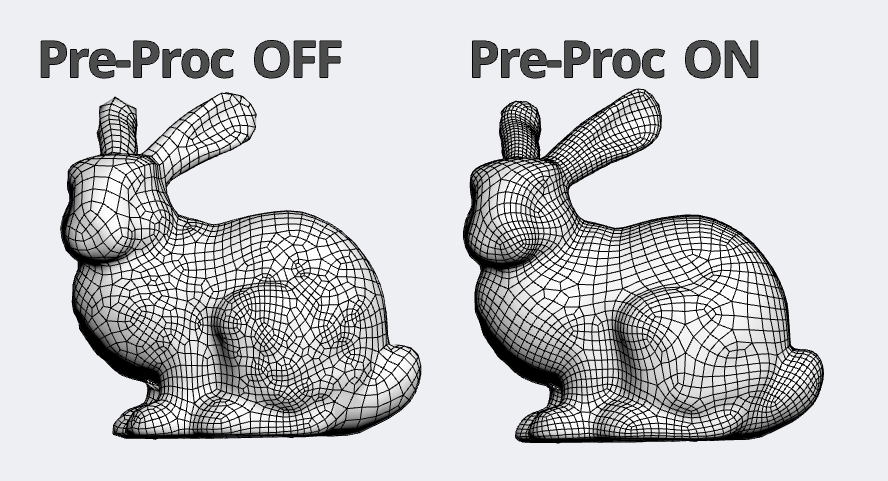


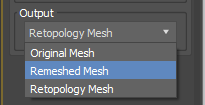 Now you can choose to output either Retopology mesh or Remeshed Mesh(Preprocessed mesh) to the stack.